Ham radio for overlanding and camping: a hands-on guide to mobile HF and VHF setups, the best radios for overlanders, antennas that work on a vehicle, and how to use POTA from your rig.
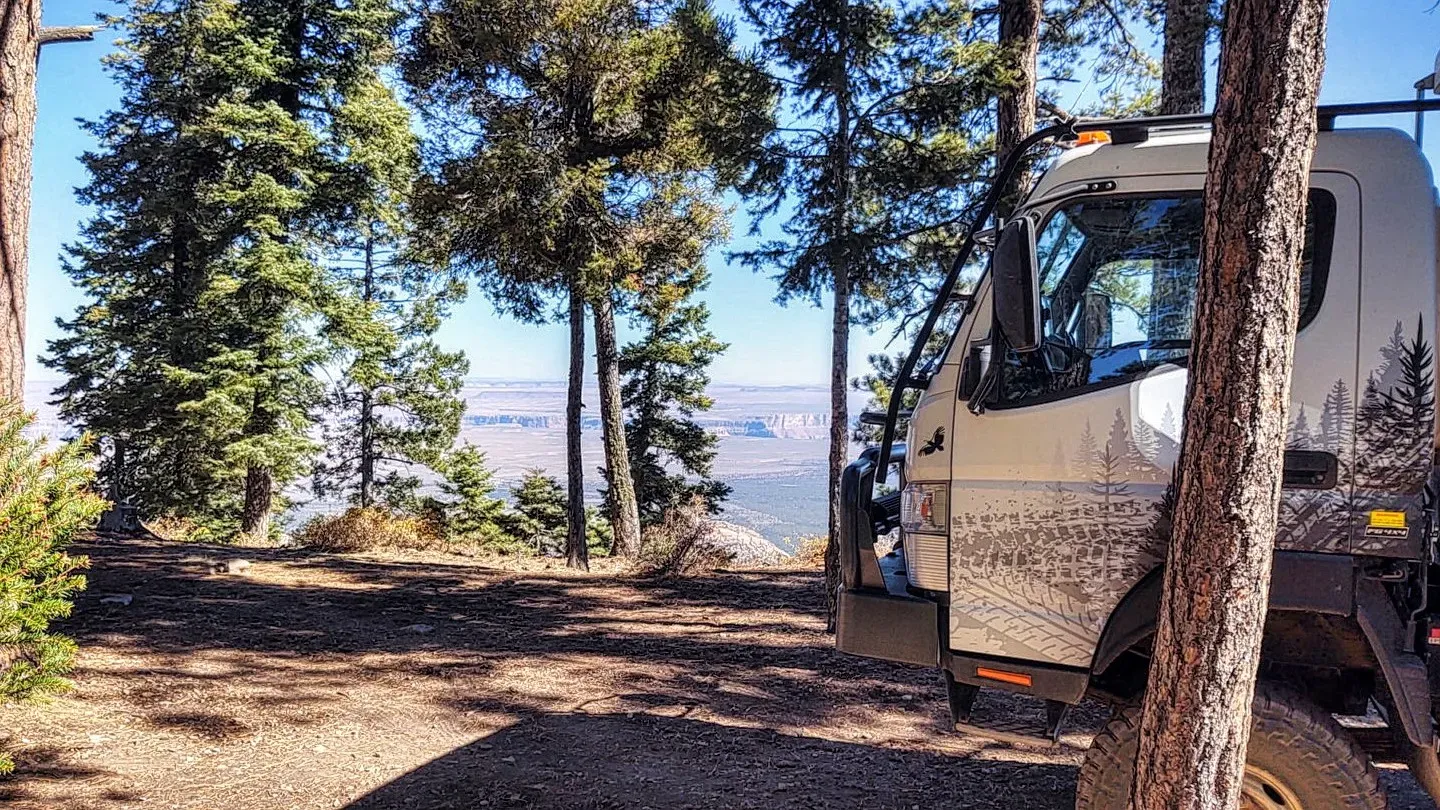
In the realm of off-road escapades, communication is vital. One compelling solution is the integration of a ham radio into your overlanding and camping adventure. So, let's explore the fascinating world of mobile ham radios, covering everything from their benefits to equipment selection, installation, and use cases.
Introduction to Ham Radio
Ham radio, or amateur radio, is a hobby and service that lets licensed individuals communicate via radio frequencies assigned by the Federal Communications Commission (FCC) in the U.S. Ham radio offers reliable communication which is especially beneficial when exploring off-grid terrains where typical communication methods might fail.
Why Ham Radio for Overlanding?
1. Enhanced Communication Reach
Among other communication options like CB (Citizens Band) radio and FRS/GMRS (Family Radio Service/General Mobile Radio Service), ham radio stands out due to its superior communication range.
CB radios usually provide a range of about 3 to 5 miles, while FRS/GMRS radios can reach up to 5 to 25 miles, contingent on the terrain and equipment. In contrast, ham radio can cover much larger distances, extending to hundreds or even thousands of miles, based on the frequency, power output, and atmospheric conditions.
This extended range is invaluable when you're out and about in remote areas with spotty or non-existent cell phone coverage. The video below is a short clip I recorded of a friend who was about 500 miles away at the time.
N7HAK and W7BR having a QSO
2. Emergency Preparedness
Ham radio enhances your emergency preparedness. It's designed to provide reliable communication when traditional services fail, enabling you to:
- Call for help: Ham radio lets you connect with other radio operators, emergency services, and amateur radio emergency networks. This increases your chances of getting assistance in remote locations, even when there's no cell service.
- Monitor weather and natural disasters: You can access weather and emergency frequencies to stay updated about real-time weather conditions and natural disaster news. This helps you plan your route and avoid potential hazards.
3. Advanced Technical Benefits
Ham radio provides several technical advantages over other communication systems:
- Improved signal clarity and audio quality: Traditional CB uses 8 KHz bandwidth, while 2 Meter ham radio FM uses 15 KHz.
- Access to a broader range of frequencies and bands: US CB is limited to 27 MHz frequencies and GMRS is around 465 MHz. Ham radio has frequencies in those two ranges plus at 6 Meters (50 MHz) and 2 Meters (144 MHz).
- Higher power output for increased range and reliability: CB is limited to 5 watts. GMRS is 50 watts maximum. Ham radio operators can use up to 1,500 watts on all the bands listed above with the proper license.
- Digital modes and messaging capabilities, enabling text-based communication and data transmission: APRS is a popular tool for sending and receiving position information over ham radio, and many handhelds have this built in.
Selecting the Most Suitable Ham Radio Equipment
For effective and reliable communication during your overland adventures, it's essential to select the right ham radio equipment.
1. Radio Type and Power Output
Opt for a mobile ham radio unit tailored for offroading, featuring rugged construction, water and dust resistance, and user-friendly interfaces. Consider the power output based on your communication range needs.
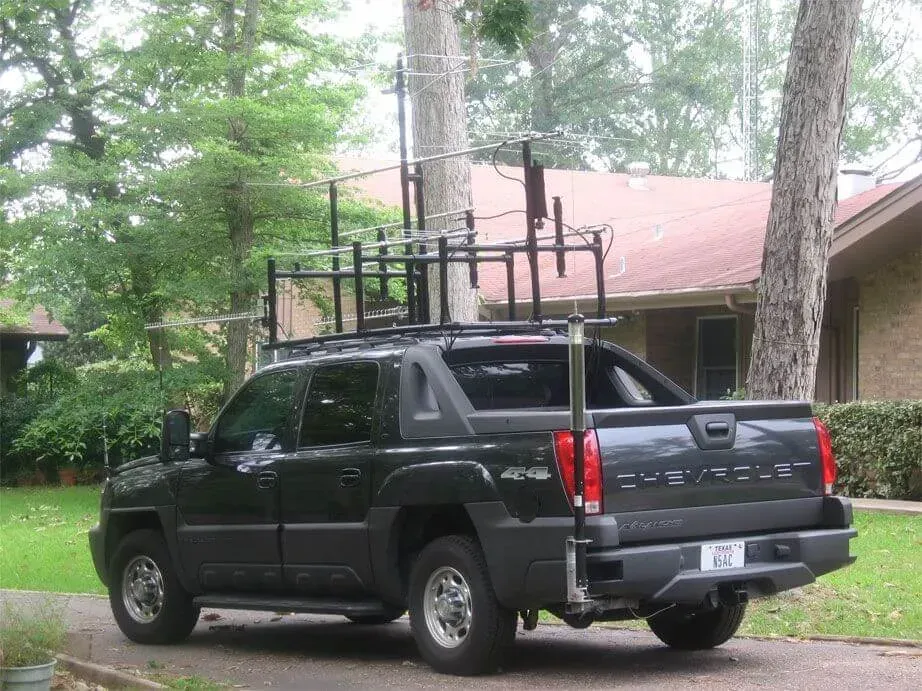
2. Antenna Selection and Placement
Choose a sturdy dual-band or multi-band antenna suitable for off-road use. Opt for NMO mounts that provide a secure connection and easy antenna replacement. Position the antenna in a minimally obstructed location for optimal performance.
3. Power Supply and Battery Management
Ensure your vehicle's electrical system is well-maintained, and consider a deep-cycle battery for a reliable power source. Use power distribution blocks and fuses to protect your equipment and simplify cable management. Some hams use portable LiFEPo batteries to handle their radio needs while in the field due to their lightweight and substantial energy storage capacity.
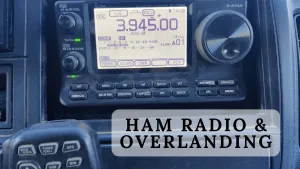
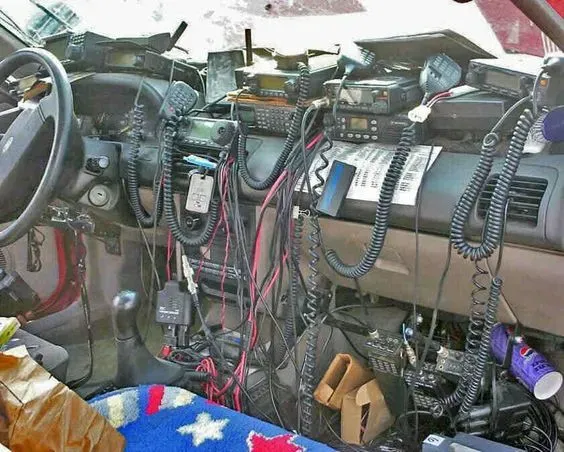
An in-depth look at the Ham Radio set up in the Earthcruiser
Best Mobile Ham Radios for Overlanding
Mobile ham radio units are designed for vehicle installation and offer features perfect for overlanders. Here are the top 3 mobile VHF/UHF ham radios for Overlanding and 2 that add HF capabilities (not in any order):
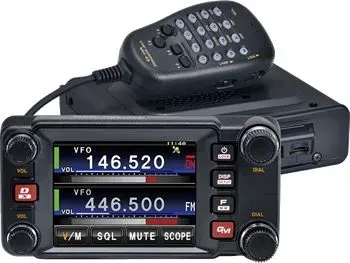
This dual-band radio offers a rugged design, a user-friendly touchscreen interface, and supports both analog and digital C4FM modes. Its integrated GPS and APRS (Automatic Packet Reporting System) functionality make it ideal for Overlanding, allowing you to share your location with others.
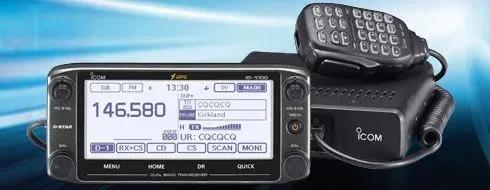
The Icom ID-5100A is a dual-band radio with a large detached display that includes a GPS receiver. In addition to compass and direction information onboard, it covers the 2 Meter and 70 CM radio bands. It's an analog FM and D-STAR digital radio with wide band receiving to cover bands like aviation.
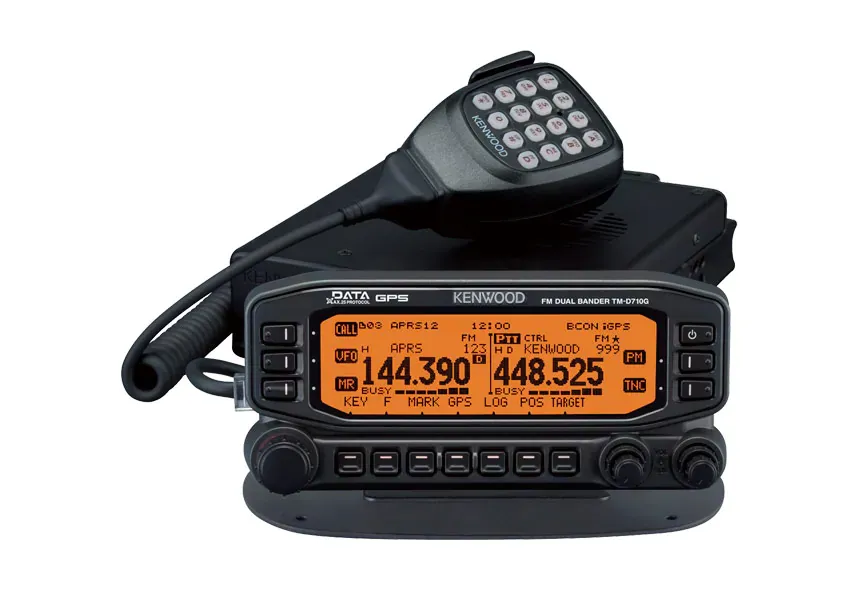
The Kenwood TM-710 is a highly versatile and feature-rich amateur radio transceiver that offers a wide range of functionalities to amateur radio enthusiasts. Whether you're a seasoned ham operator or a beginner, the TM-710 is designed to meet your communication needs with its advanced capabilities. From its dual-band operation to its built-in GPS receiver and APRS functionality, the TM-710 opens up a world of possibilities for seamless communication and navigation. With its user-friendly interface and durable construction, the Kenwood TM-710 is a reliable and powerful choice for amateur radio enthusiasts looking to enhance their communication experience.
4. Icom-7100

The ICOM IC-7100 is a highly versatile amateur radio transceiver that supports multiple modes and frequencies. It offers 100 watts of power on HF, 50 watts on VHF, and 35 watts on UHF [2]. With a detachable control head and a slanted display, it can be easily installed in vehicles or homes. The receiver is equipped with advanced features such as DSP and audio filters, and the transceiver can be connected to a computer for digital modes [2]. It also supports D-STAR mode and low-speed data communication on the 2-meter and 70-centimeter bands [3]. Optional GPS attachment enables locating nearby repeaters and sending APRS locations [2]. However, it does not have an internal antenna tuner [2].
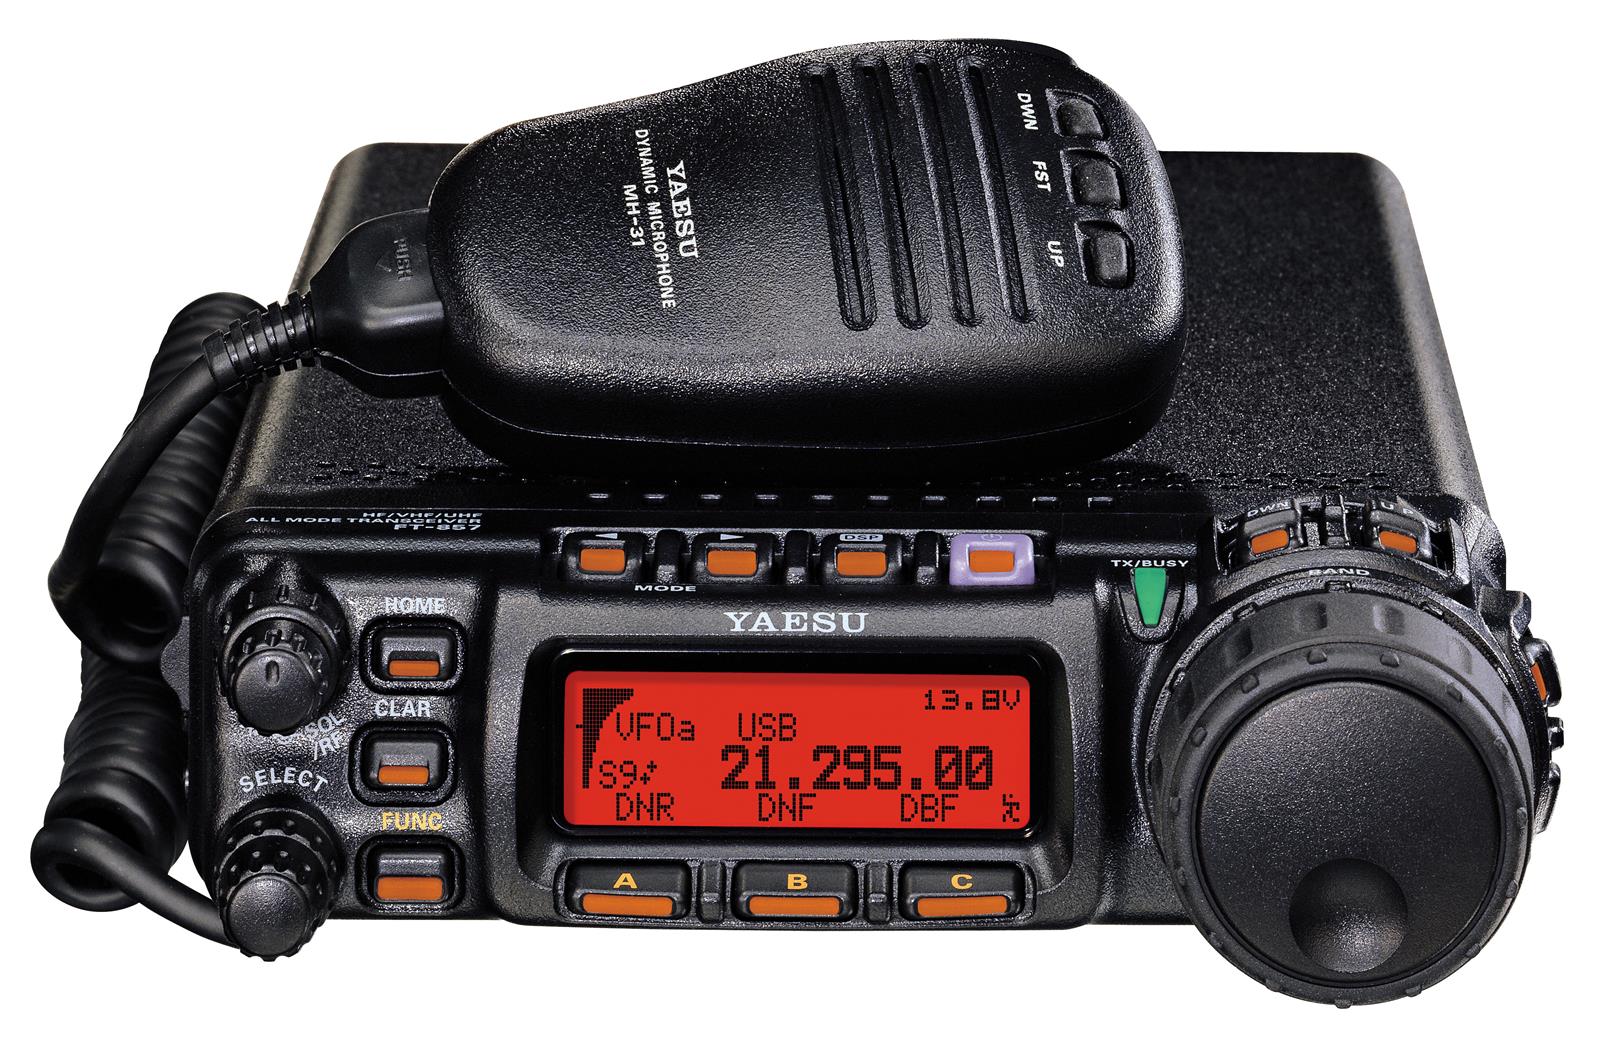
The Yaesu FT-857D is a compact and versatile amateur radio transceiver that offers a wide range of features. It is designed for mobile and portable operations, making it suitable for both base station and on-the-go communication. The FT-857D covers a broad frequency range, including HF, VHF, and UHF bands, allowing for communication across various amateur radio bands. It offers a power output of up to 100 watts on HF and 6 meters, and up to 50 watts on 2 meters and 70 centimeters. This makes it a powerful and reliable transceiver for long-distance communication.
Ham Radio is Versatile!
Ham radio offers a high level of versatility and is highly customizable, allowing you to get the perfect communication system for your overlanding.
Here's what we mean by 'versatility':
1. Repeaters and Linking Systems
Repeaters are devices that receive and retransmit signals, extending the range of your communication. Linking systems like EchoLink and IRLP enable you to connect to other ham radio operators over the internet, providing even greater reach and connectivity options.
2. Digital Modes and Messaging
Various digital communication methods, such as D-STAR, System Fusion, and DMR, offer improved signal quality, error correction, and additional features like text messaging and data transmission. Ham radio systems can support text-based communication and data transfer, which can be especially useful when voice communication is not possible or practical.
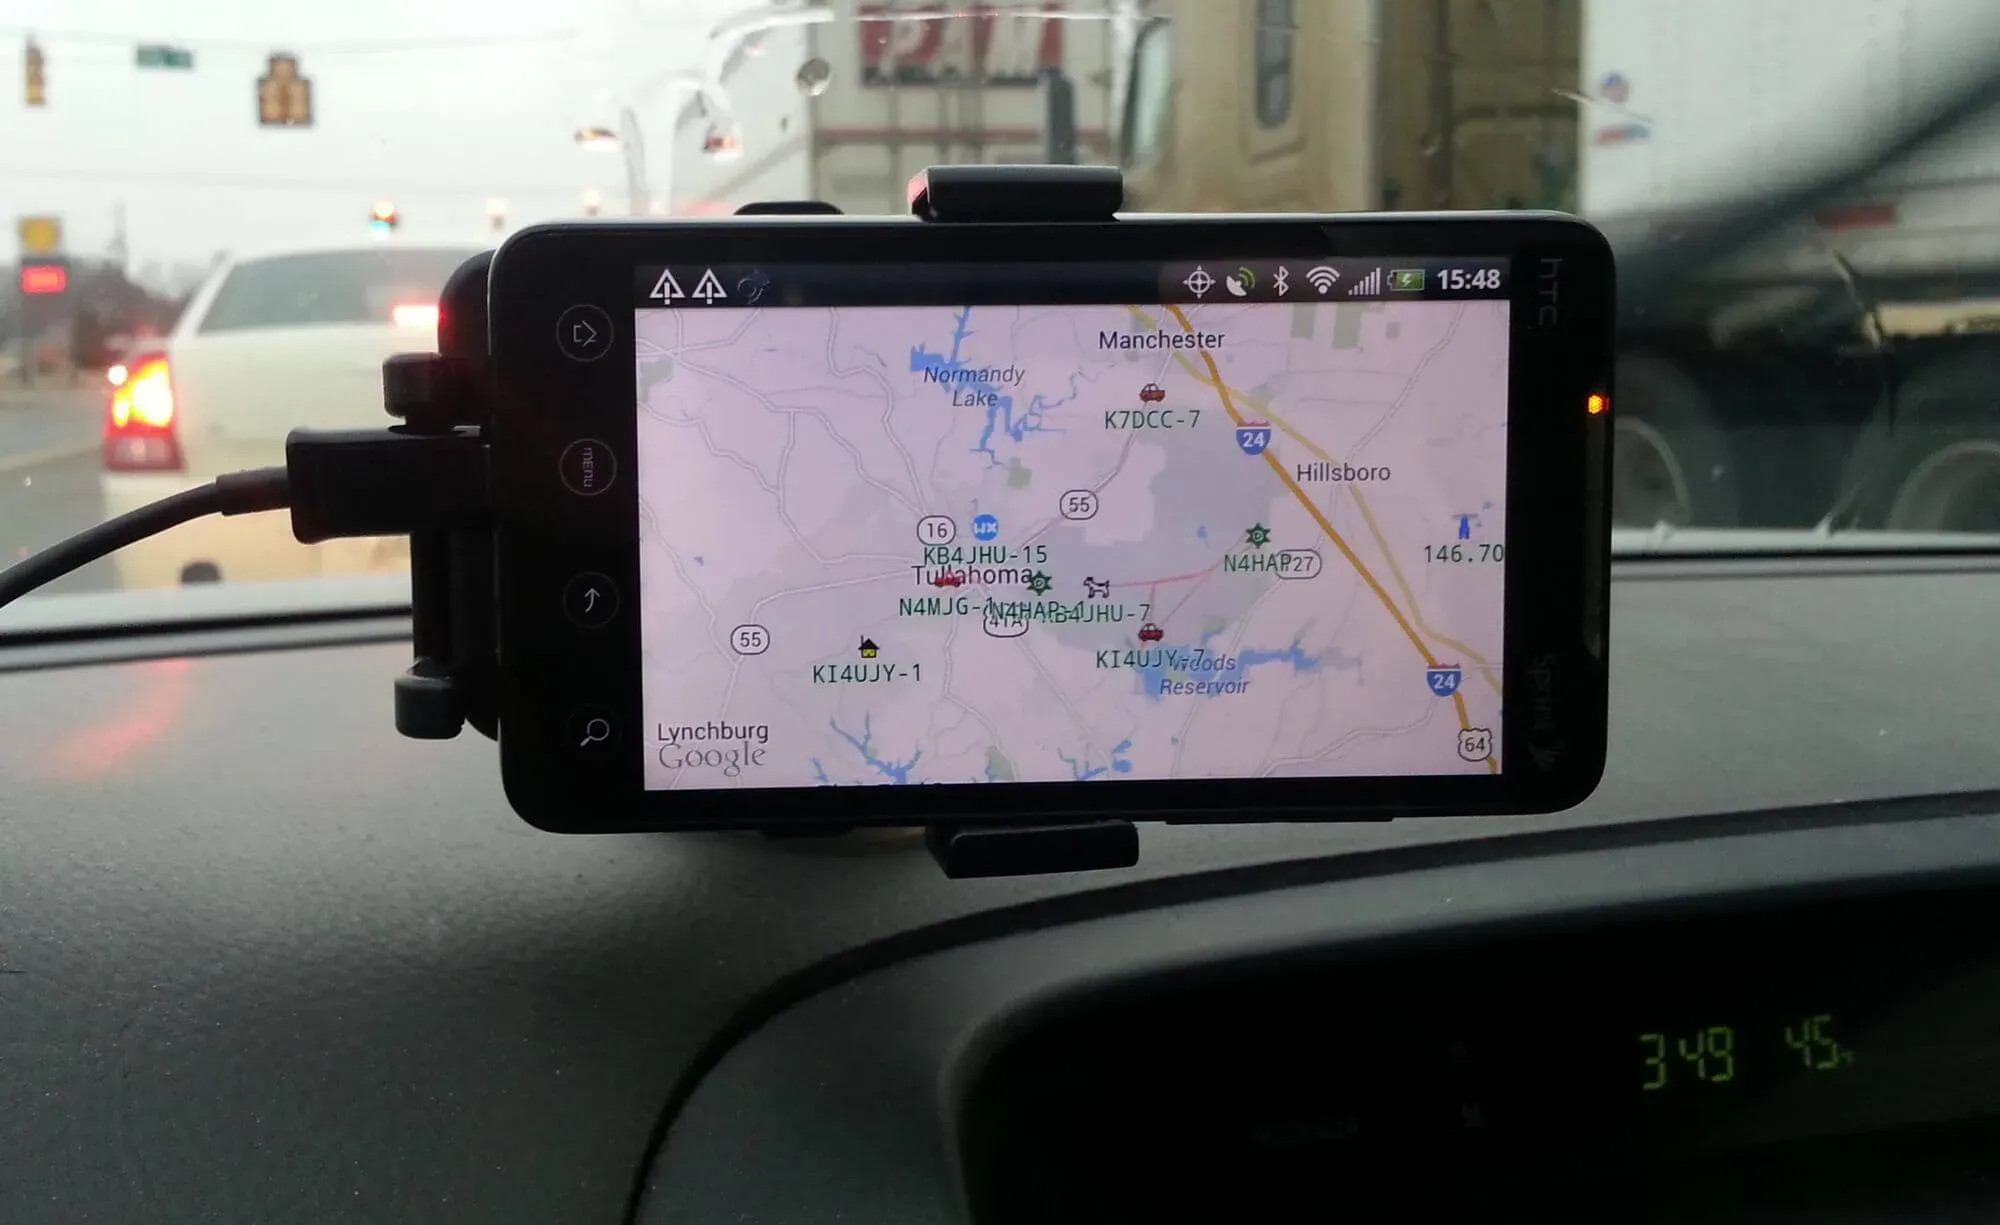
3. Integration with GPS and Mapping Tools
Many ham radio systems have onboard GPS receivers or can interface with GPS devices, allowing you to share your location with other radio operators and receive location data from others. Software like APRS can be used to plot the location data from GPS-enabled ham radios on maps, providing real-time situational awareness during your overlanding adventures.'
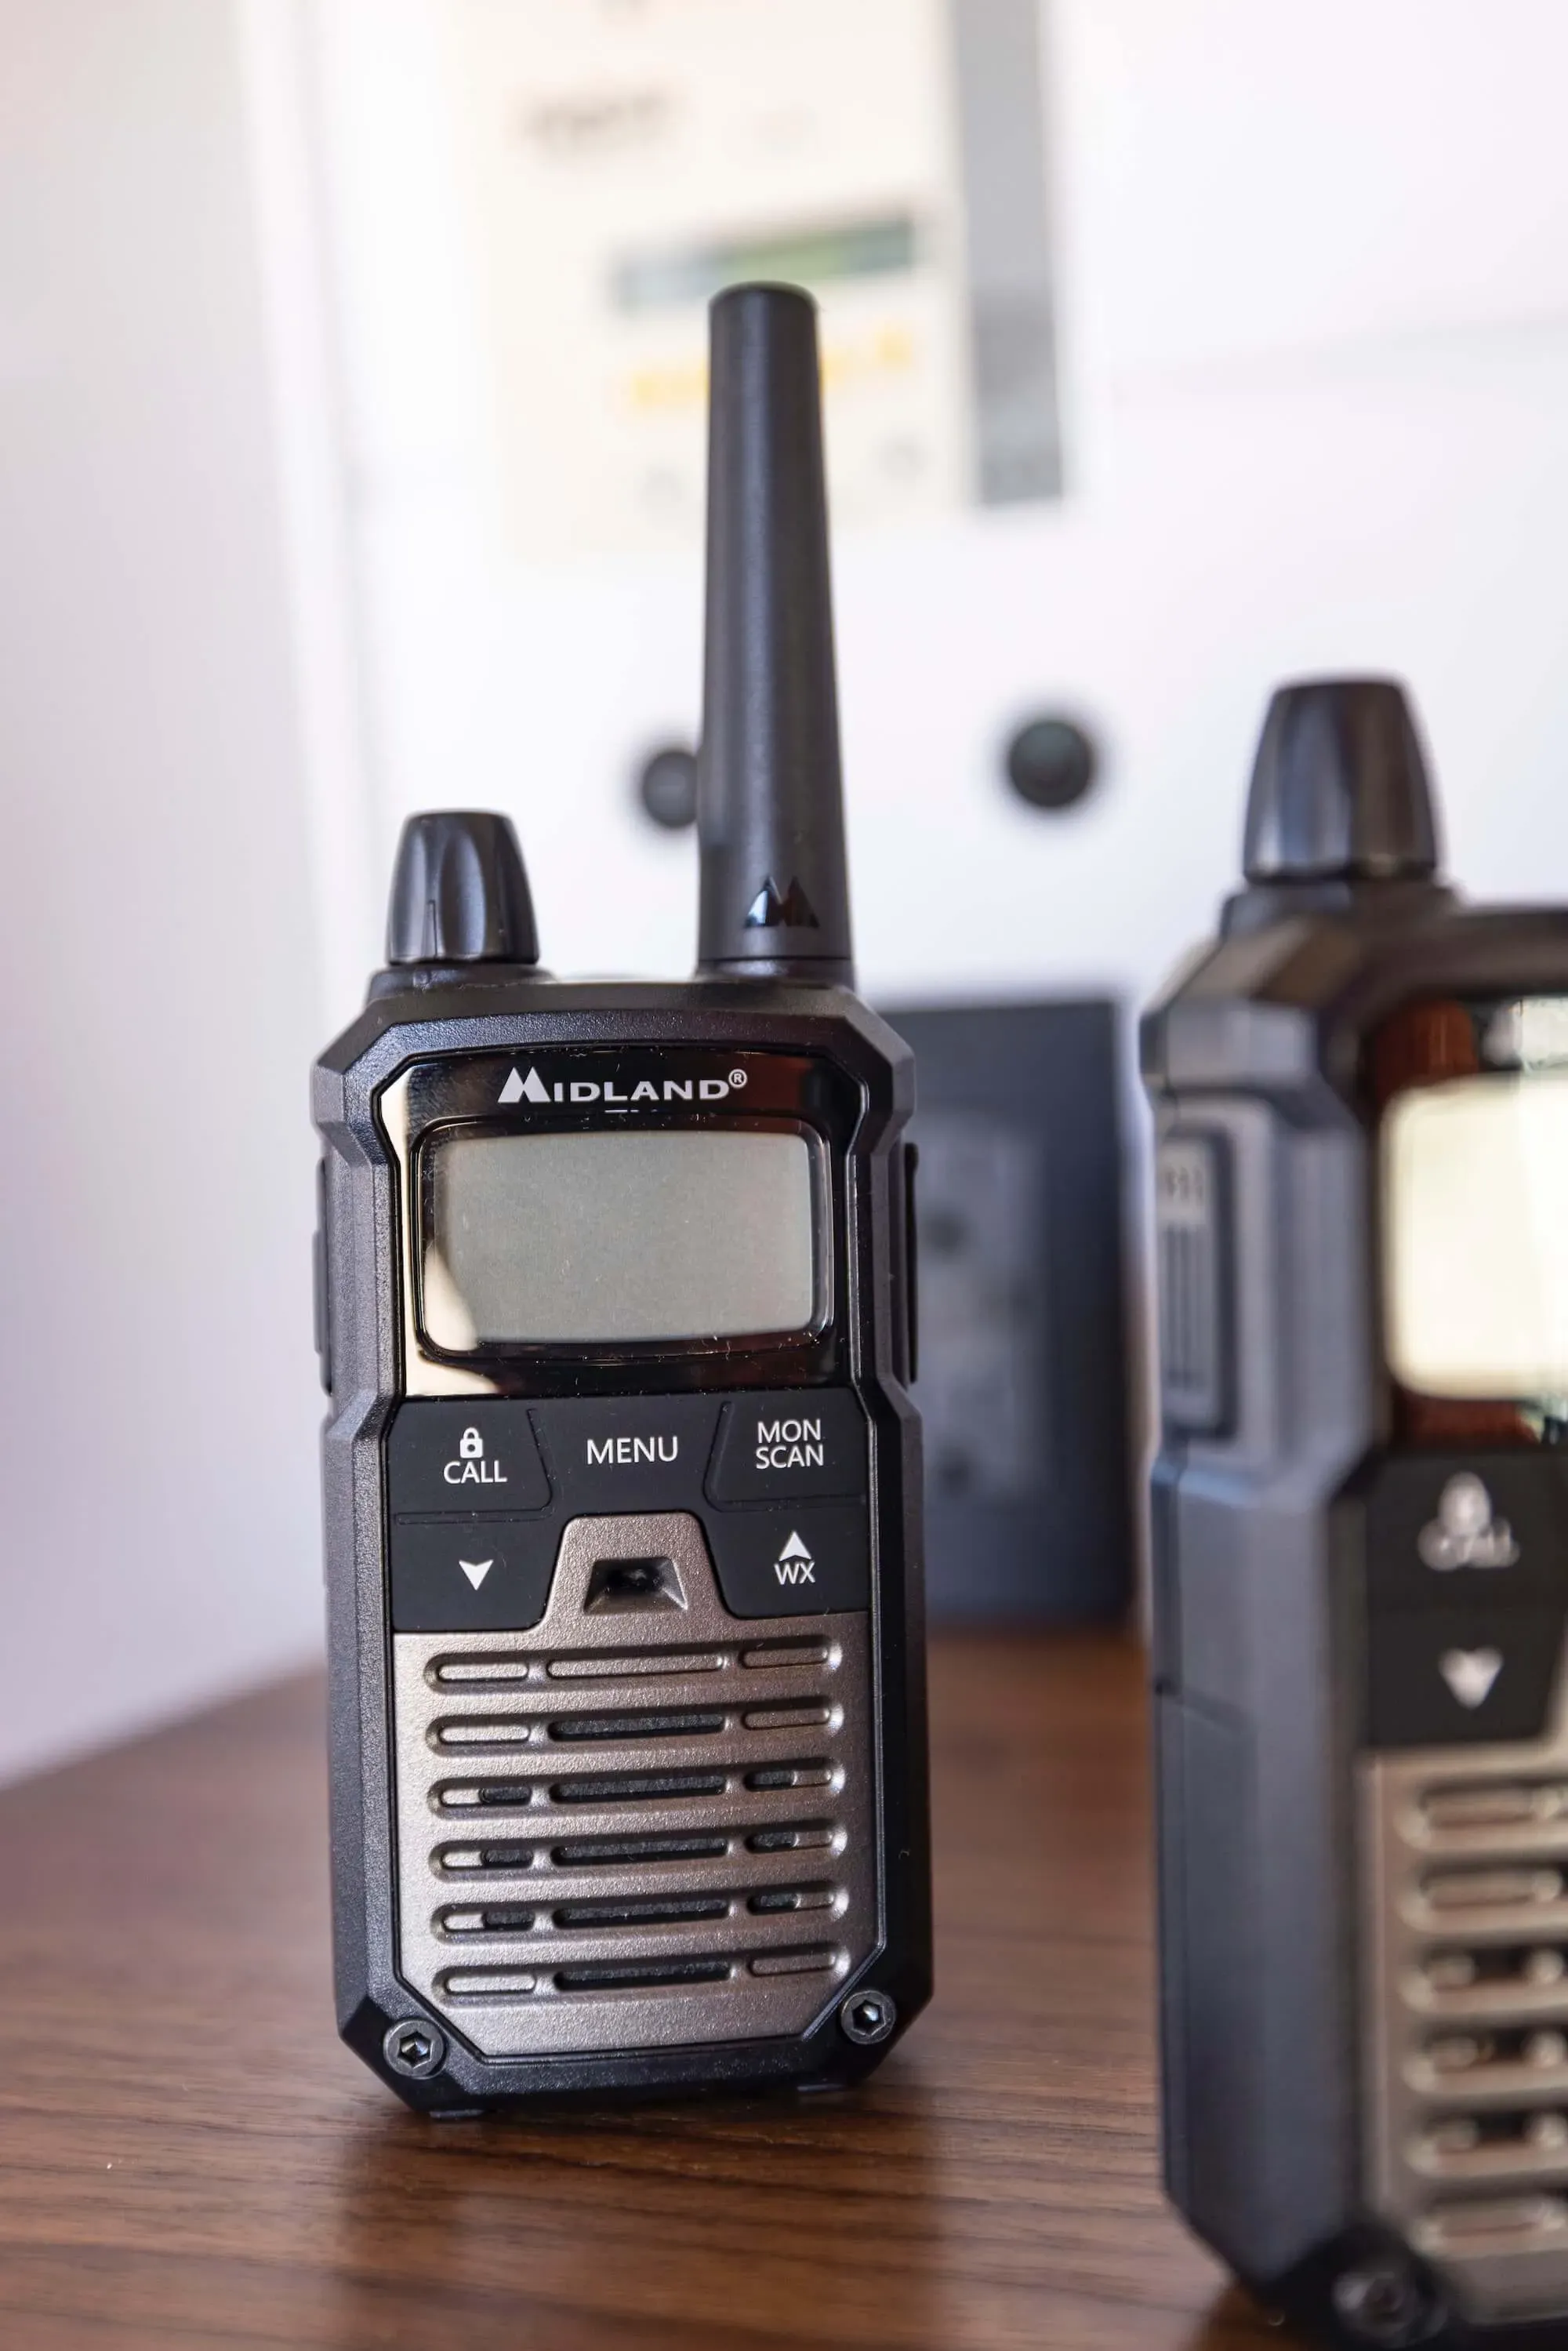
4. Go Portable or Dual Band
Handheld radios keep you connected to your "base" vehicle while exploring the area. Many radios can handle two frequencies at one time. Keep one for overall communication while having a second frequency for your foot travelers or organize by vehicle types.
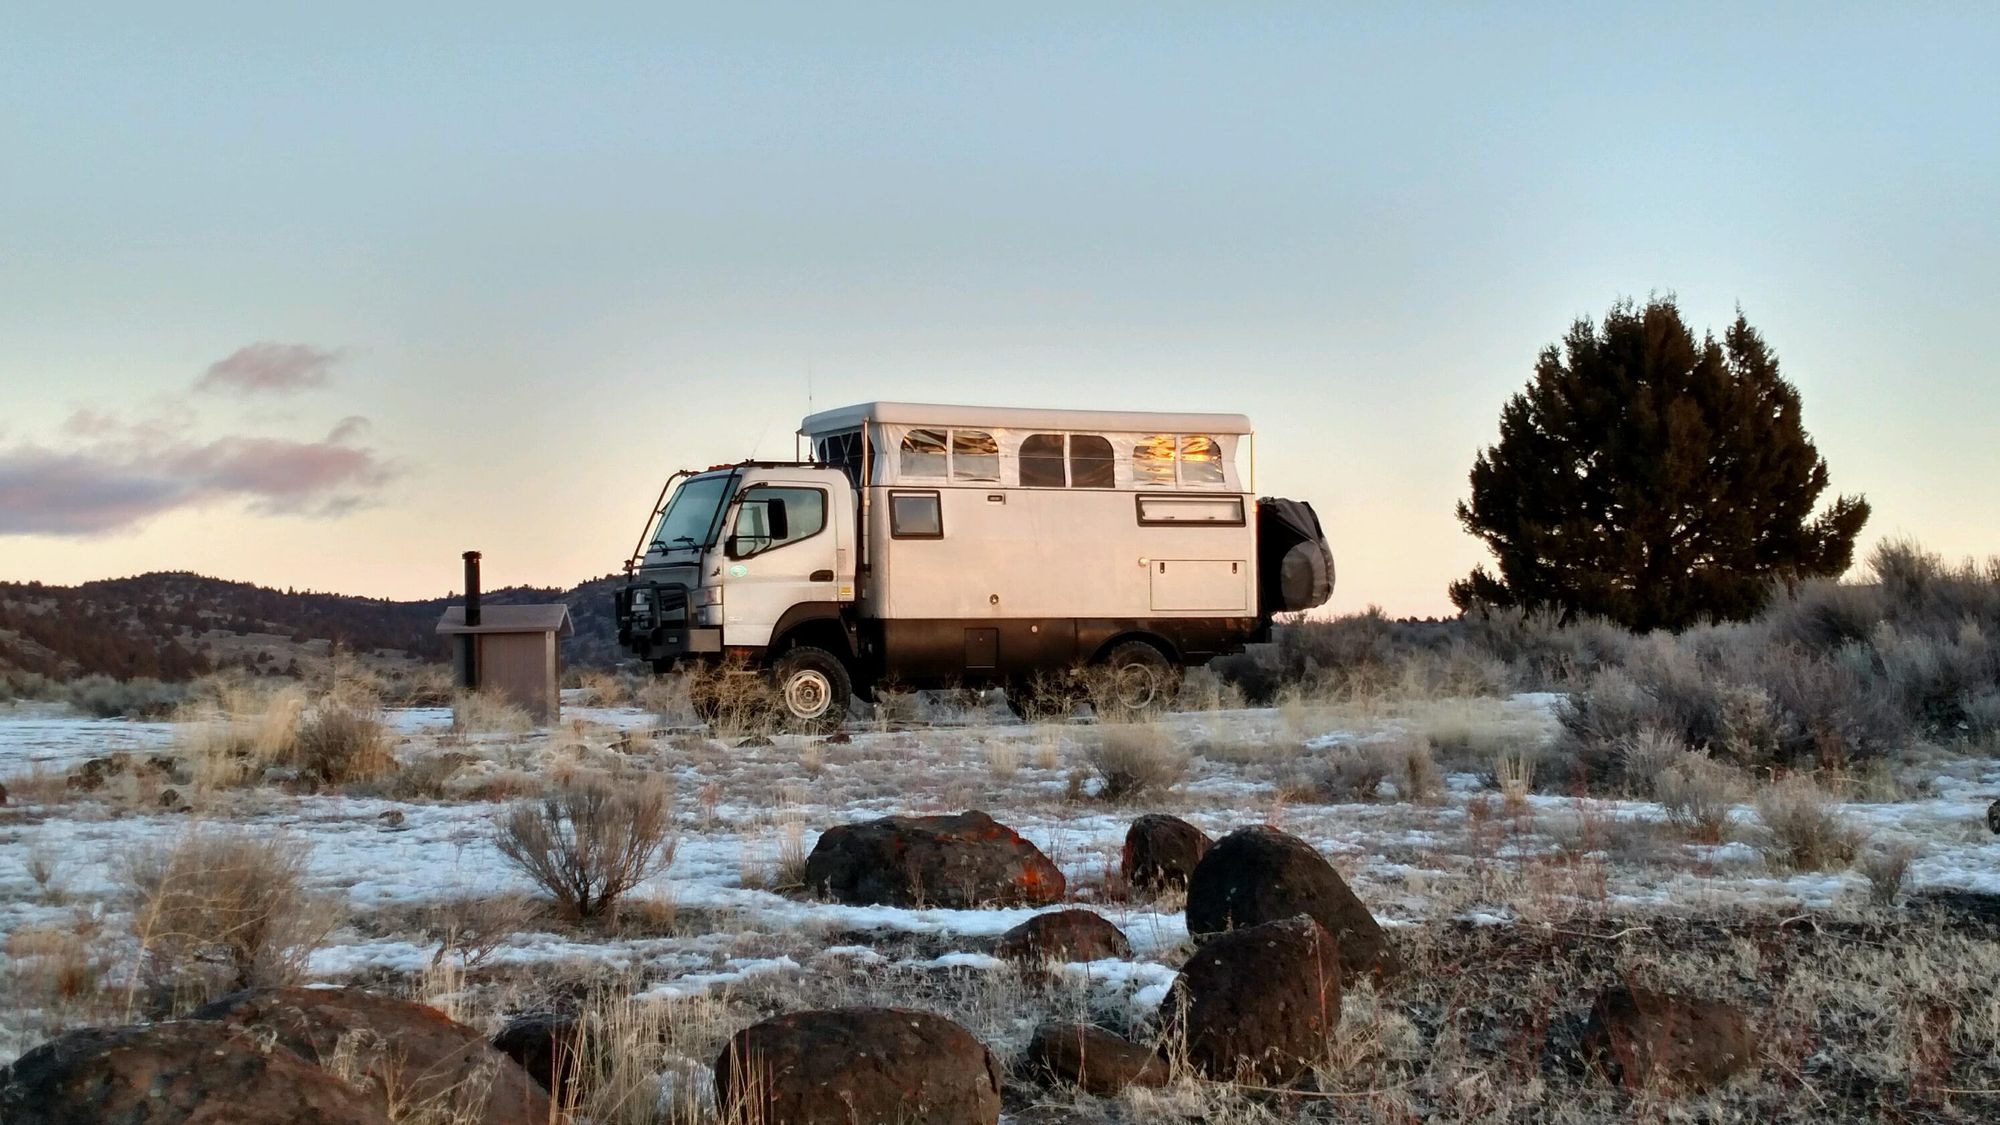
Setting up and playing radio!!
Setting Up Ham Radio in Your Adventure Mobile
Setting up a ham radio system in your overlanding camping vehicle involves several steps. A great resource on the web is http://www.k0bg.com/ Here is a step by step summary guide on how install a mobile radio:
Step 1: Gather the Necessary Equipment
Collect all the required equipment, including mobile ham radio unit, antenna, NMO mount for the antenna, coaxial cable, and deep-cycle battery (optional).
Step 2: Select the Mounting Location for the Radio
Choose a location that is easily accessible and has adequate ventilation to prevent overheating.
Step 3: Install the Antenna
Install the antenna in a suitable location on your vehicle with minimal obstructions for optimal performance.
Step 4: Connect Radio to Antenna
Run the coaxial cable from the radio unit to the antenna, avoiding sharp bends and potential damage.
Step 5: Connect Radio to Power Source
Connect the power cables from the radio to the power distribution block, ensuring proper polarity and a secure connection.
Step 6: Ground the Radio
Attach a grounding cable from the radio unit to a suitable grounding point on your vehicle's chassis or frame.
Step 7: Program the Radio
Program your radio with local repeater frequencies, emergency channels, and preferred simplex frequencies.
Step 8: Test Your System
Perform a test transmission on a simplex frequency or repeater to confirm proper operation.
Step 9: Secure and Tidy Up the Installation
Ensure all connections and mounting points are secure and stable.
Conclusion
Having a ham radio license for Overlanding offers many benefits, such as improved communication range, better preparation for emergencies, access to a supportive community, and technical advantages that are not available with other communication systems.
By getting your ham radio license and installing a reliable amateur radio system in your vehicle, you can significantly improve your off-road experiences and stay connected with others who share your passion for the same adventure.
We highly encourage overlanders to take the steps needed to get their ham radio license, at least to prepare themselves for an emergency. You will also gain valuable knowledge and experience that can help you elsewhere. Don't wait - start your journey toward becoming a licensed ham radio operator today!
Brent Conklin
Whiskey7Backroads.com